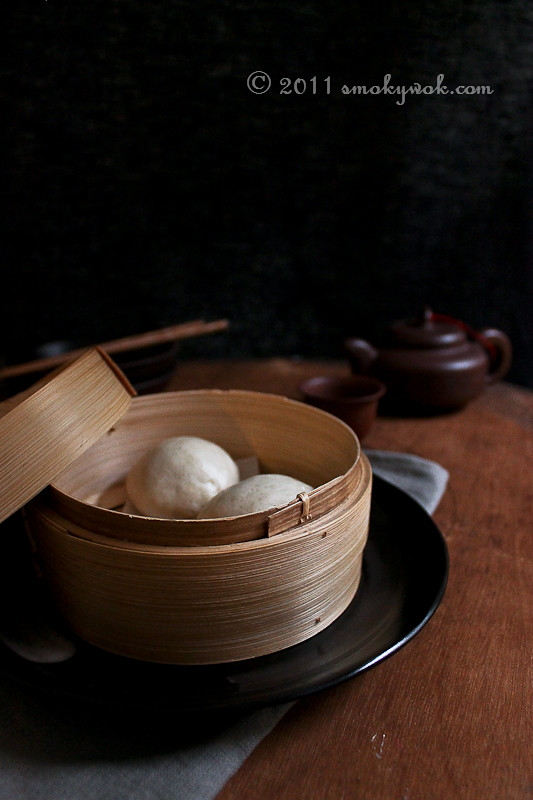
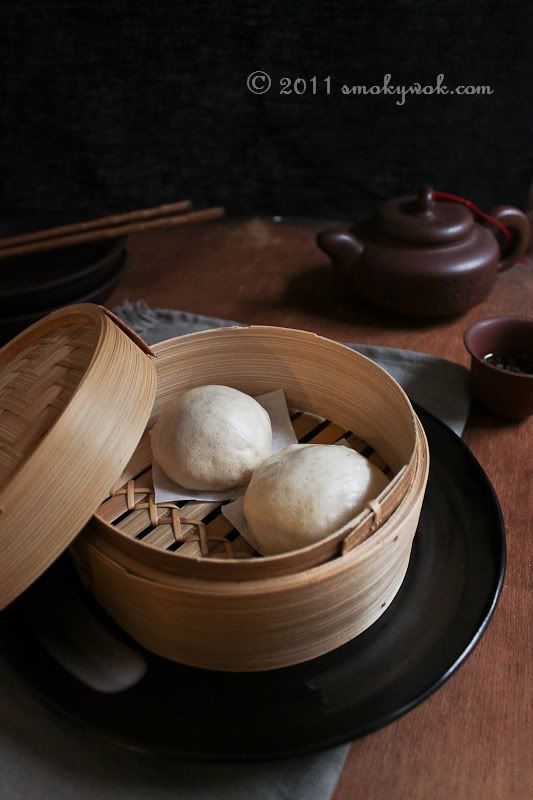
It's probably no secret that steamed buns are one of my and probably a lot of fellow Asians' favourite comfort food and I'm back today with a savoury version, the classic steamed buns or bao filled with pork and vegetables (bok choy in this case). Making Chinese steamed buns at home is not difficult but then again, it does require a bit of time and dedication - as I have received quite a few questions from some of you about making steamed buns, I thought it would good to post an even clearer photo tutorial from my previous attempt with a savoury example this time. I know that sometimes it can get frustrating when you're not sure how the dough is supposed to look like or realise just how easy it the process actually is, in cases like these a photo is definitely worth a thousand words. I hope that you will find this improved photo tutorial even easier to follow and 'demystify' so to speak the process of making Chinese steamed bao at home.
Chinese steamed bao differs from its' cousin, the mantou which is usually plain and is just plain dough but is also very delicious when served steaming hot. Another popular way of serving mantou is to deep-fry them and is also one of my favourite ways of eating them up with or without a dip. Folklore has it that the legendary General Zhuge Liang when leading his troops back from a hard-won victory invented the original mantou which has evolved into the current mantou and its' many variations e.g. the steamed bao/ baozi. On their way back home, the troops had to cross a particularly unforgiving river and were informed that they would have to sacrifice some of their men to appease the river spirits. The General then devised a plan of feeding mantou to the river spirits instead as the buns were made to resemble the shape of human heads and that is apparently how the much-loved mantou and steamed bao came about - interesting is it not?
Anyhow, folklore aside - I hope you'll try making your own steamed bao at home at least once and most importantly, have fun while doing it. This is now my go-to recipe for making fluffy steamed bao at home and it has yet to fail me or fail to impress my guests :O.
1. I suggest for you to use bao/ pao flour which can be found at most Asian grocery stores. Bao flour is essentially all-purpose flour but bleached. If you don't mind the yellowish tinge, it is fine to use all-purpose flour.
2. I used self-raising flour in this recipe but if you want to add your own rising agents, I do not have the exact measurements but usually to get 250g worth of self-raising flour from all-purpose, add 1 tsp baking powder and 1/2 tsp baking soda. (I have not tried this myself so I can't vouch for this personally).
3. Only place the buns for steaming when the water is rapidly boiling, if you do so before the water starts boiling rapidly, the outer layer of the bao may turn a little mushy.
4. Only one round of proofing is required and you do not have to proof the bao before steaming. They will expand in the steamer.
5. As the bao will expand in the steamer, do not place the wrapped bao too close to each other.
6. You can add natural food colouring to the dough as well for certain festive occasions or maybe just because you feel like it :).
For the buns:
Makes 12 medium sized buns
Ingredients:
1 1/2 tsps active dry yeast (the granules)
1/2 cup warm water
1/4 cup granulated sugar
1 cup bao/ pao flour (use AP if you like - refer note 1 above)
1/2 cup self-rising flour
3 tbsps butter, melted (I used salted)
12 4 cm by 4 cm squares of baking paper for the bao
For the filling:
100g minced or ground pork, marinated in 1 tsp corn flour for about 10 minutes (to tenderise)
1 stalk green onion, sliced
1 cluster bok choy, sliced thinly
2 tbsps grated fresh ginger, together with the juice
Seasoning:
1 tbsp oyster sauce
2 tsps light soy sauce
1 tbsp Chinese Shaoxing Wine
1/2 tsp sugar
2 tsps cornstarch/ cornflour mixed with 2 tbsps chicken stock
Method:
1. Combine the yeast, 2 tbsps of warm water, 1 tsp sugar and 1 tsp bao flour in a bowl. Cover with a damp kitchen towel and set aside for 15 minutes. The mixture should turn frothy, if it does not it means that the yeast you used is 'dead' or no longer active, you will have to repeat this step if so. Just FYI, the sugar feeds the yeast so don't skip it.
2. Sift the bao flour and self-rising flour into a large bowl. Add sugar, the melted butter, the rest of the warm water and the yeast mixture from above.
3. With a wooden spoon, start mixing everything together until a soft dough begins to form.
4. Set the wooden spoon aside. Get ready a bowl of additional pao/ bao flour for dusting as it is now time for kneading. I sometimes like to knead my dough in the large metal bowl I regularly use but if you like prepare a floured counter and turn the dough out to knead.
5. Knead the dough with your hands for about 3-5 minutes or until smooth and elastic. As you can see, I kneaded this by hand and it is not hard at all as the dough is not too wet so you don't have to pull out the mixer.
After some kneading
6. Lightly oil a bowl. Place the kneaded dough into the bowl and cover dough with a damp kitchen towel and allow to rise for about 1 hour in a warm place. Note that humidity makes a difference so if you're in a cold and dry climate, it may take longer to double in size.
7. While the dough is proofing, it's time to make the filling. Add about 3 tbsps cooking oil to a hot pan or wok and add in the bok choy and green onions. Add in grated ginger and juice. Turn heat to medium. Once aromatic, add in the pork. Turn heat up. Add seasoning (except for corn starch) and stir around until pork is cooked, taste a little bit of the pork and add more seasoning if required. If the mixture looks dry, add 1 or 2 tsps of water at a time. Dish out into a shallow bowl and allow to cool.
8. Check the dough after an hour, the dough should have roughly doubled and it should feel airy and quite porous.
9. Prepare a lightly floured surface and turn the dough out onto it. Lightly punch the air bubbles out and knead again, dusting with additional bao flour as needed.
10. Roll the dough out into a cylindrical shape.
11. Roughly divide the dough into 12 equal portions. Take one portion and roll into a ball shape between your palms.
12. Flatten the 'ball' with your hands, turning it around in your palm as you flatten to form a flattened round. There is no need to use a rolling pin for this. My guests and I like to have bao with thicker skins hence you can see that the ratio of filling to skin is almost 1:1 for us but do adjust according to your preferences.
13. Spoon about 1 heaped tsp of filling onto the center of the flattened dough.
14. Start wrapping up the filling in the dough with your right hand while cupping the bao lightly with your left hand. (er, I'm right-handed)
15. Twist to seal.
16. Place the bun on the prepared baking paper squares.
17. Repeat steps 12-16 above until all the dough is finished up. Anytime the dough seems too sticky, dust with a little bit of bao flour and knead lightly again if needed.
All ready to be steamed:
18. Serve hot.
 Subscribe to Feed


 Recipe")


 Recipe")


 Recipe")

 Recipe")


 Recipe")


 in Chicken Broth Recipe")


14 comments:
Yours are much nicer than mine :)
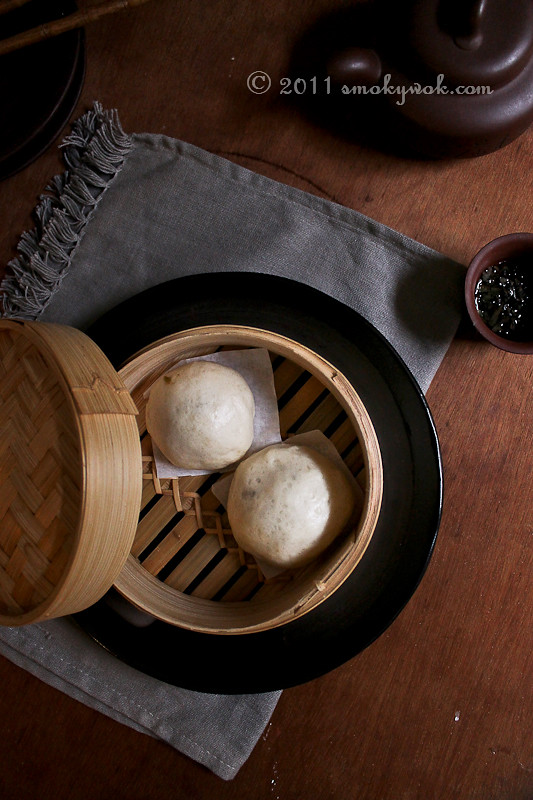
My father always says that it's easier to buy them in the store :p hahaha The first and the last photo's are great, but the second one is a bit blurry.
You have a new set up for your food eh? :)
Yeah, it is but sometimes I feel like making my own my guests love them right out of the steamer fresh plus I like kneading dough.
!! Was hoping no one would notice, yeah actually I can see that is kinda blurry but that was the better of the 2 shots I got that showed half of the buns (with the filling) shot at very low light and handheld - ISO 800 :(
Yeah, trying to experiment with diff set ups..:)
I like the new set up! I am planning to buy some dark wood to make a table plate. The same set up everytime is a bit boring huh.
Yeah, it depends on your camera. Some of my photos were shot at 2000 ISO and handheld too.
haha thanks
I've made my own baos from scratch a few times and it is not that difficult at all. Highly worth the effort as they are more tender than store-bought ones. Plus, you can have such fun with the fillings.
I'm liking the darker shots -- this looks great!
Looks good and like all the step by step photos. :) Bookmarked!!
thanks Xiaolu! Just trying out different stuff nowadays :)
thank you C! :)
I really love your dark tone of photos. I'm into that lately... :-) Whenever I go to Taiwan I usually eat steam buns for breakfast and it's so nice and warm out of the steamer. I totally understand how delicious it is to cook at home! Love the step-by-step pictures as well!
Oops sorry forgot to add link...http://justonecookbook.com/blog/
Thanks dear! Yeah me too haha though the lighter pics are 'safer' haha..oh I love the food I had in Taiwan! I noticed that the Taiwanese like to eat a lot of sashimi too (in restaurants) but I love the street food too YUM! I love their breakfast of sticky rice, fried dough cruellers and the soy milk!!
Okay I'm making the today for my husband. I'm making so with napa cabbage and some with bok choy wish me luck.
Post a Comment